Cisco 8865 Phones
Getting Started With Voice Mail
Setting Up Voice Mail
In order to begin using voice mail, you will need to do two things:
- Change your PIN.
- Go through the tutorial to set up your voice mailbox.
To begin the process:
Press the button on the phone that has a picture of an envelope.
This will allow you to access your voice mail.
You will be asked to enter your four-digit pin. The default pin is
1234, followed by the
# (sometimes called the hashtag or pound sign).
You will then be asked to change your pin. We are using 6-digit pins. You will be asked to enter a pin of your own creation twice, followed by the pound sign.
After you have successfully changed your PIN, you will be placed in a tutorial that will walk you through having the system say your name when you leave a message for someone with a DORS extension, and setting up your outgoing greeting for callers who call and you do not answer.
A few things often included in the message are your name and title, a contact person if the caller requires immediate attention, and an e-mail address where you can be contacted.
Some offices ask staff to include other things such as the hours you are in the office, or your e-mail address.
In order to be most clearly understood by a caller, please do not use the speaker phone to record your voice mail message. These tend to have an echo and background sound.
Checking Voice Mail
Please remember to check your voicemail for messages frequently. To do this from your desk phone:
Access your voice mail with the same button as you did previously.
Then, enter the pin that you created.
You will be placed into a menu where you can access your messages, record a new message, and a few other things.
If you want to check your voice mail from an outside phone number:
Dial your office number (Example: 410-555-1234).
When your message begins to play, press the star key.
You will be asked to enter your ID number. This is your 4-digit telephone extension.
You will then be asked for your PIN. Enter the 6-digit PIN you created.
Follow the prompts to perform any of the functions listed.
Changing Voice Mail PIN
Important: The instructions below guide you through changing your voicemail PIN. As you will see, there are other options available to you.
Do Not deviate from these instructions. Making any other changes may cause problem with your phone.
On your computer desktop, use the icon that says "Change VM PIN."
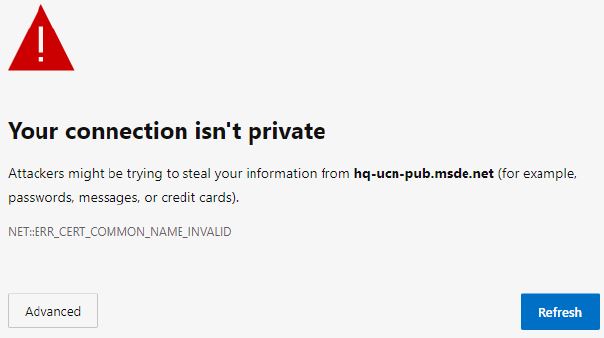
It is highly possible that the first screen you come to will be a warning screen like the one shown below. If so, don’t panic because this is an internal DORS site. Simply click the Advanced button to continue.
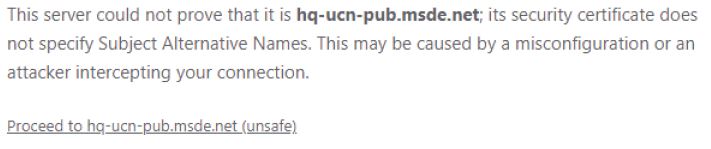
Another warning message will appear beneath it. Again, disregard the message and click the
Proceed to hq-ucn-pub.msde.net link at the bottom of the page.
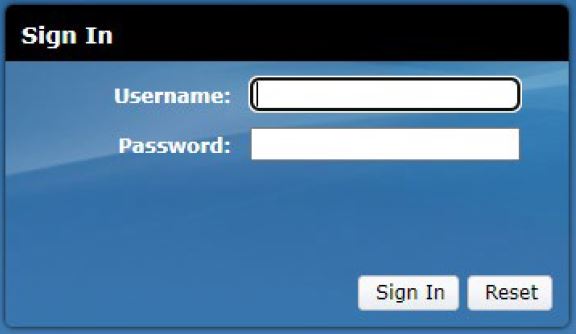
To sign in: Enter your username (the one you use to log into your computer, not your email address) and password. Then, click the
Sign In button.
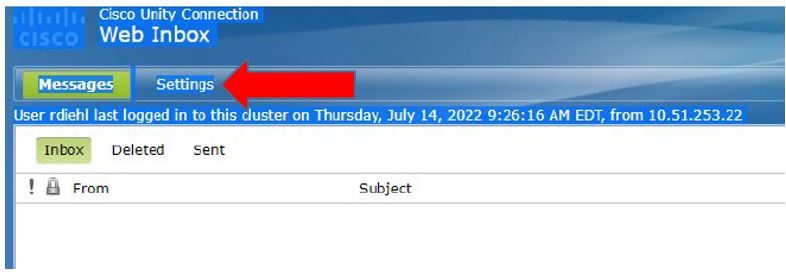
The next screen will be your
Cisco Unity Connection Web Inbox. In the upper left corner, click the
Settings tab.
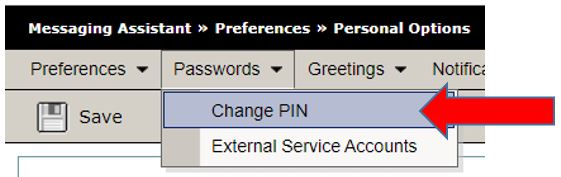
Click
Passwords on the top menu bar.
DO NOT change anything else on this screen.

Select
Change PIN.
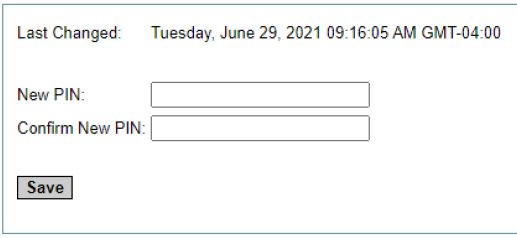
Enter your new voicemail PIN (must be
6 numbers), then retype those 6 numbers in the
Confirm New PIN box. Don’t forget to click the
SAVE button when you are finished.
If the two PINs you typed match, a message will appear telling you the change was successful.

Finally click the X on the browser tab to close the browser window.